
Quick Copy
Minimal n8n Docker Compose Starter
Use this as a small starting point for a local n8n install, then adjust the volume, port, and environment values for your setup.
services:
  n8n:
    image: n8nio/n8n:latest
    ports:
      - "5678:5678"
    volumes:
      - ./n8n_data:/home/node/.n8n
    environment:
      - N8N_HOST=localhost
      - N8N_PORT=5678
      - N8N_PROTOCOL=http
The first time I looked into running n8n locally, Docker made the whole thing seem way more complicated than it actually was.
You start researching automation workflows, then suddenly people are talking about containers, volumes, ports, databases, and server configurations.
It can feel like you accidentally wandered from “I want to automate some tasks” into “time to become a full-time infrastructure engineer.”
Thankfully, getting started is much simpler than that.
In this guide, I am walking through the exact local n8n Docker setup I built from scratch. We will create a clean project folder, write a reusable Docker Compose file, start n8n, and confirm everything works.
The goal is not to build a complicated production server today. The goal is to create a safe local playground where you can learn n8n, experiment with AI workflows, and start building useful automations.
Once your local setup is running, the free n8n workflow library is a good next stop because you can import real starter workflows instead of staring at an empty canvas.
If you are still deciding whether n8n is the right place to build, this n8n vs Zapier vs Make comparison can help you choose before you install anything.
Why Install n8n Locally With Docker?
n8n is a workflow automation platform that lets you connect apps, APIs, AI models, and services together using visual workflows.
If you are brand new to n8n, I recommend starting with my beginner overview first:
What Is n8n? A Beginner’s Guide to AI Workflow Automation
Running n8n locally is useful because you can test ideas without worrying about hosting costs or breaking a production workflow.
It is perfect for experimenting with things like:
- AI automation workflows
- Local AI experiments
- Content systems
- Research assistants
- Small personal productivity tools
Disclosure: Some outbound links on GetPrompting are affiliate links, including this n8n link. If you sign up through one, I may earn a commission at no extra cost to you.
If you are comparing local installs against n8n Cloud or self-hosting on a server, I covered those options here:
n8n Setup Guide: Cloud vs Self Hosted vs Local Install
What We Are Building
For this walkthrough, we are keeping things simple and practical.
By the end, you will have:
- A working n8n installation running in Docker
- A reusable docker-compose.yml file
- A dedicated project folder
- Persistent storage for your workflows
- A foundation for future AI automation projects
Step 0: Install Docker Desktop
Before creating our n8n setup, you need Docker installed on your computer.
The easiest option for beginners is Docker Desktop. It gives you Docker, a visual dashboard, and everything needed to run containers locally.
You can download it from the official Docker website:
Once Docker Desktop is installed and running, we can create our n8n project.
What Is Docker Actually Doing?
You do not need to become a Docker expert to follow this guide, but understanding the basic idea helps.
A normal software install adds files, dependencies, and configuration directly onto your computer.
Your Computer
├── Install application
├── Install dependencies
└── Manage everything manually
Docker packages applications into containers instead.
Your Computer
        ↓
     Docker
        ↓
  n8n Container
This keeps n8n isolated, easier to manage, and easier to remove later if you are experimenting.
Step 1: Create Your n8n Project Folder
Now that Docker is installed, the first thing I like to do is create a dedicated folder for the project.
This might seem unnecessary for a small setup, but keeping Docker projects organized early prevents a messy folder full of random configuration files later.
For this build, I created a simple structure:
docker
└── n8n-local-starter
    └── docker-compose.yml
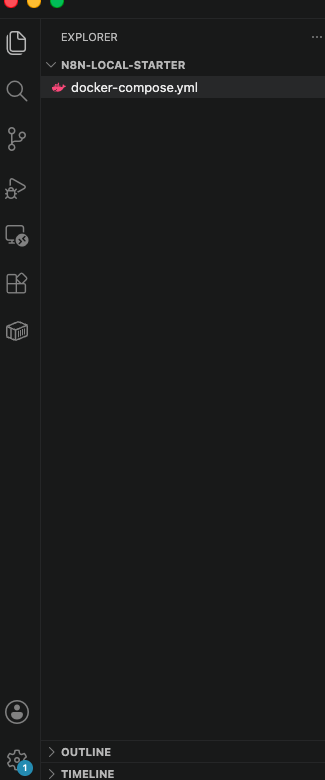
Everything needed for this local n8n setup will live inside this folder.
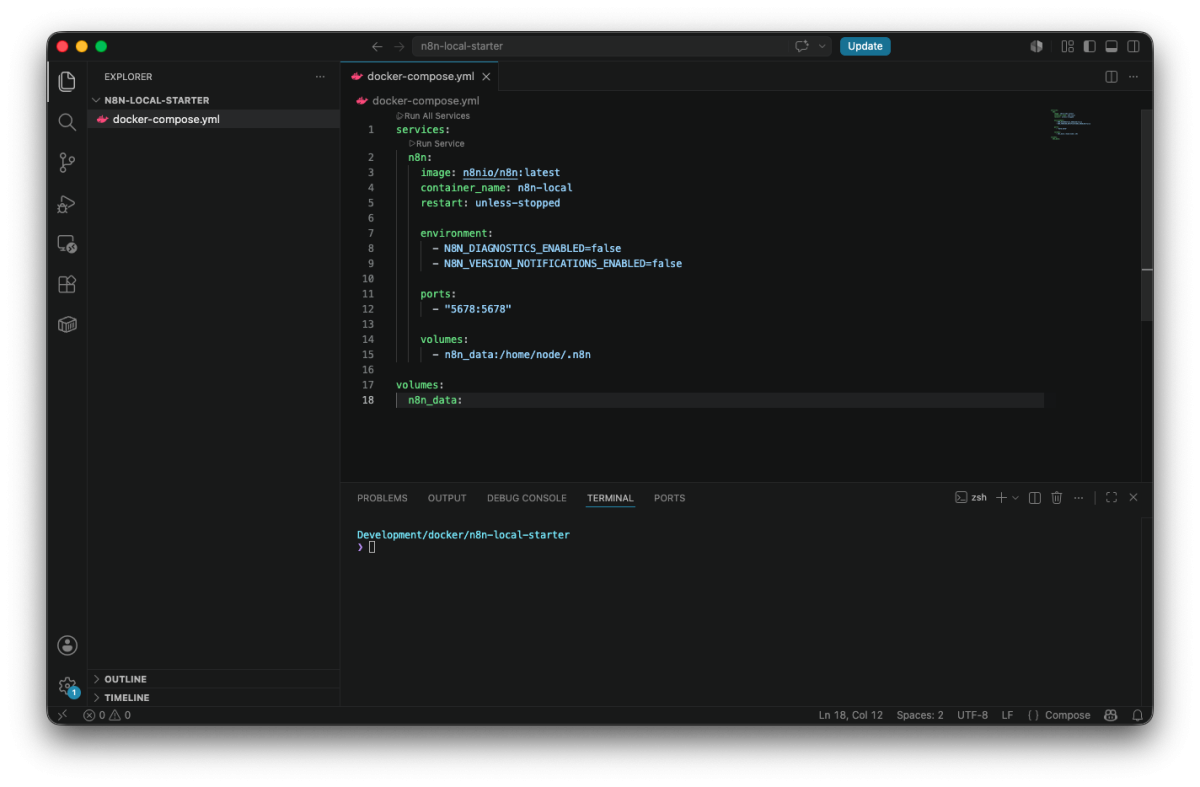
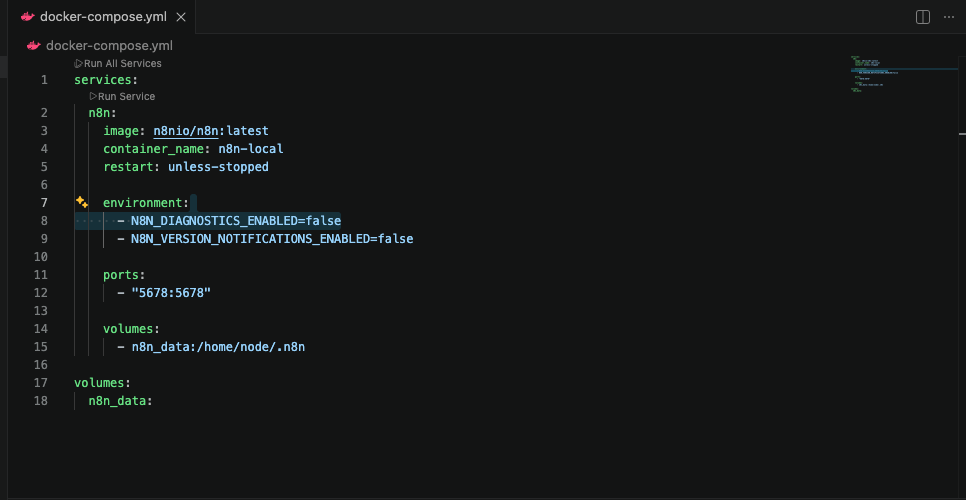
Step 2: Create the Docker Compose File
Next, create a file called:
docker-compose.ymlDocker Compose lets us define our setup once instead of typing long Docker commands every time we want to start n8n.
Here is the configuration I used:
services:
  n8n:
    image: n8nio/n8n:latest
    container_name: n8n-local
    restart: unless-stopped

    environment:
      - N8N_DIAGNOSTICS_ENABLED=false
      - N8N_VERSION_NOTIFICATIONS_ENABLED=false

    ports:
      - "5678:5678"

    volumes:
      - n8n_data:/home/node/.n8n

volumes:
  n8n_data:
Breaking Down This n8n Docker Compose File
If this is your first time looking at a Docker Compose file, it might look confusing. The good news is this small file is only doing a few things.
- image: downloads the official n8n Docker image.
- container_name: gives the container a readable name instead of a random Docker-generated one.
- restart: allows Docker to restart n8n automatically.
- environment: lets us configure n8n settings.
- ports: connects your browser to n8n.
- volumes: saves your workflows and settings.
The volume section is one of the most important parts.
A Docker container should be treated as replaceable. Your saved workflows, credentials, and settings need somewhere safe to live outside of that container.
That is what our n8n_data volume does.
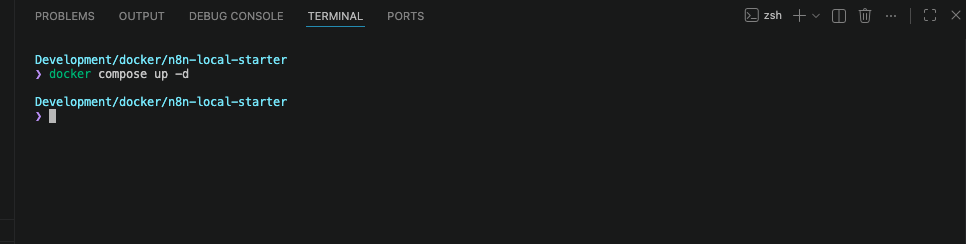
Step 3: Start n8n With Docker Compose
Now we are ready to actually launch n8n.
Open a terminal inside your project folder and run:
docker compose up -dDocker will download the n8n image, create the container, create the volume, and start everything automatically.
The -d option simply tells Docker to keep running n8n in the background.
Step 4: Verify n8n Is Running
Once Docker finishes, open Docker Desktop.
You should see your new n8n container running.

You can also check from the terminal with:
docker psIf you see your n8n container listed, your local automation environment is officially running.
Step 5: Open Your Local n8n Instance
Now comes the fun part. Let’s make sure the setup actually works.
Open your browser and visit:
http://localhost:5678If everything started correctly, you should see the n8n setup screen.
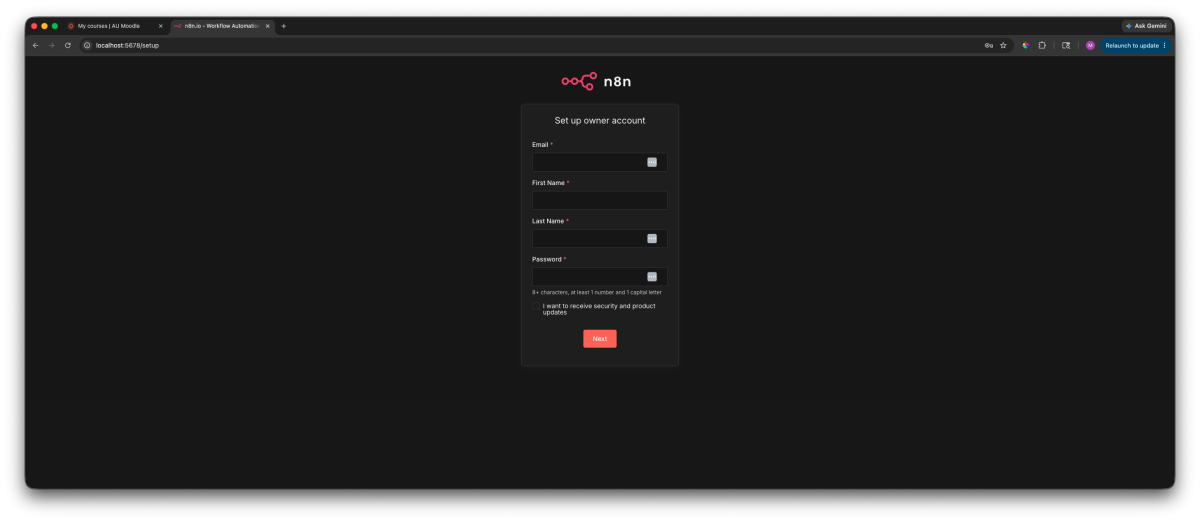
Create your owner account and finish the initial setup process.
Once complete, you should land inside the n8n workflow editor.
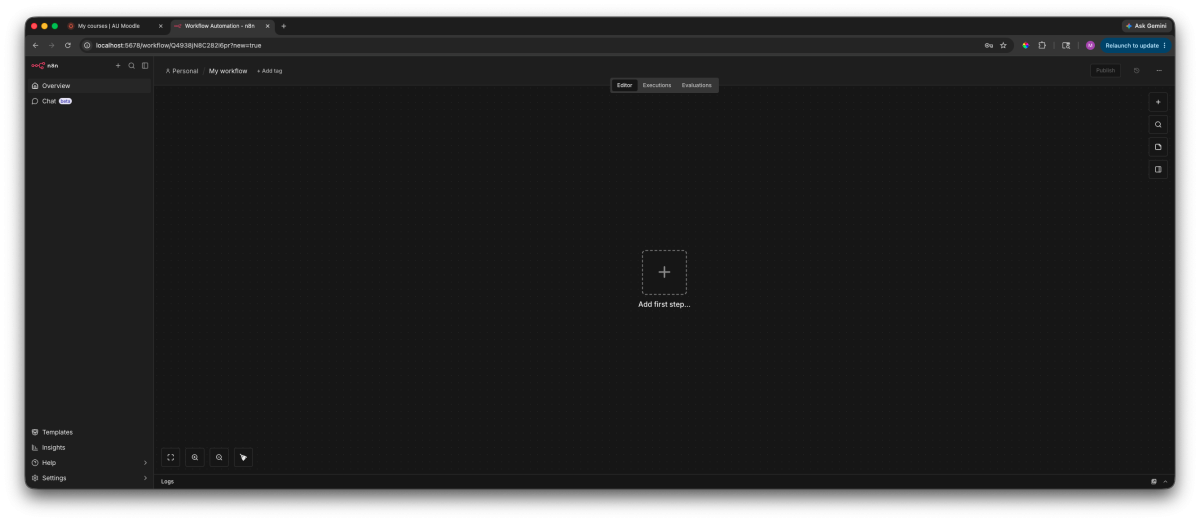
At this point, you officially have a local automation environment running on your own machine.
Step 6: Make Sure Your n8n Workflows Are Saved
One Docker lesson that confused me early on was understanding the difference between containers and data.
The container runs the application. The volume stores your information.
This matters because containers are designed to be replaceable. You want your workflows and settings stored somewhere persistent.
You can check your Docker volumes with:
docker volume ls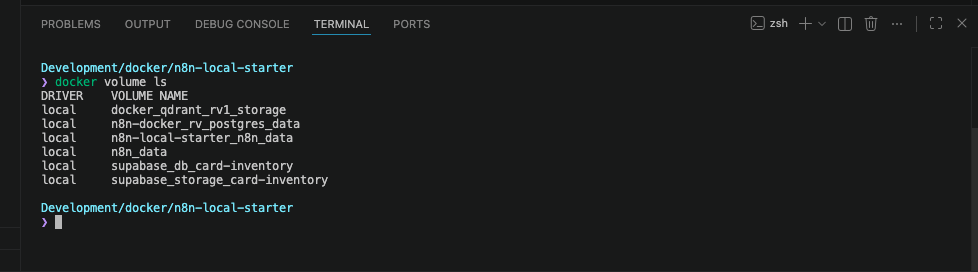
If you see your n8n volume listed, Docker has created storage outside the container for your data.
Helpful n8n Docker Commands
You do not need many Docker commands to manage a local n8n setup. These are the ones you will probably use most often.
Stop n8n
docker compose downStart n8n Again
docker compose up -dCheck Running Containers
docker psTroubleshooting Your n8n Docker Install
Real setups occasionally need troubleshooting. That is part of building.
localhost:5678 Does Not Load
First, confirm your container is running:
docker psYou can also try:
http://127.0.0.1:5678Check the n8n Logs
If something still looks wrong, view the container logs:
docker logs n8n-localWhen everything is working, you should see that the editor is available on port 5678.
What Should You Build Next?
Getting n8n installed is only the starting point.
The real value comes from using it to connect tools together and remove small repetitive tasks from your day.
If you want the bigger picture behind that, this guide shows how to turn AI tools into repeatable systems.
I recommend starting simple. Build one workflow, understand how information moves between nodes, then slowly add more pieces.
If you are interested in combining automation with local AI, these guides are good next steps:
If you want a simple hands-on project after installation, this guide will help you build your first n8n workflow using Ollama and Google Sheets.
- Ollama Tutorial for Beginners: Run AI Locally on Your Computer
- What Is RAG? Retrieval Augmented Generation Explained Simply
- Build a Local AI Memory Assistant With AnythingLLM and Ollama
Frequently Asked Questions
Can I run n8n locally for free?
Yes. Running n8n locally with Docker is a great way to experiment with automation workflows without paying for hosting.
Do I need to know Docker before using n8n?
No. Learning basic commands helps, but you do not need advanced Docker knowledge to start building workflows locally.
Will my workflows disappear if I restart Docker?
No, as long as you use persistent storage like the Docker volume created in this guide. Your workflows and settings are stored separately from the container.
Can I connect this setup to local AI tools?
Yes. A local n8n setup can connect with tools like Ollama and other AI services, making it a useful foundation for experimenting with AI workflows.
Start small, experiment often, and remember that useful automation is about solving real problems, not automating everything just because you can.
Stay curious, keep experimenting, and as always…
Stay sharp,
Free AI Workflow Starter Kit
Turn what you learned into something useful.
Get the workflow canvas, assistant planner, reusable prompt templates, and first n8n walkthrough, plus practical guides as GetPrompting grows.